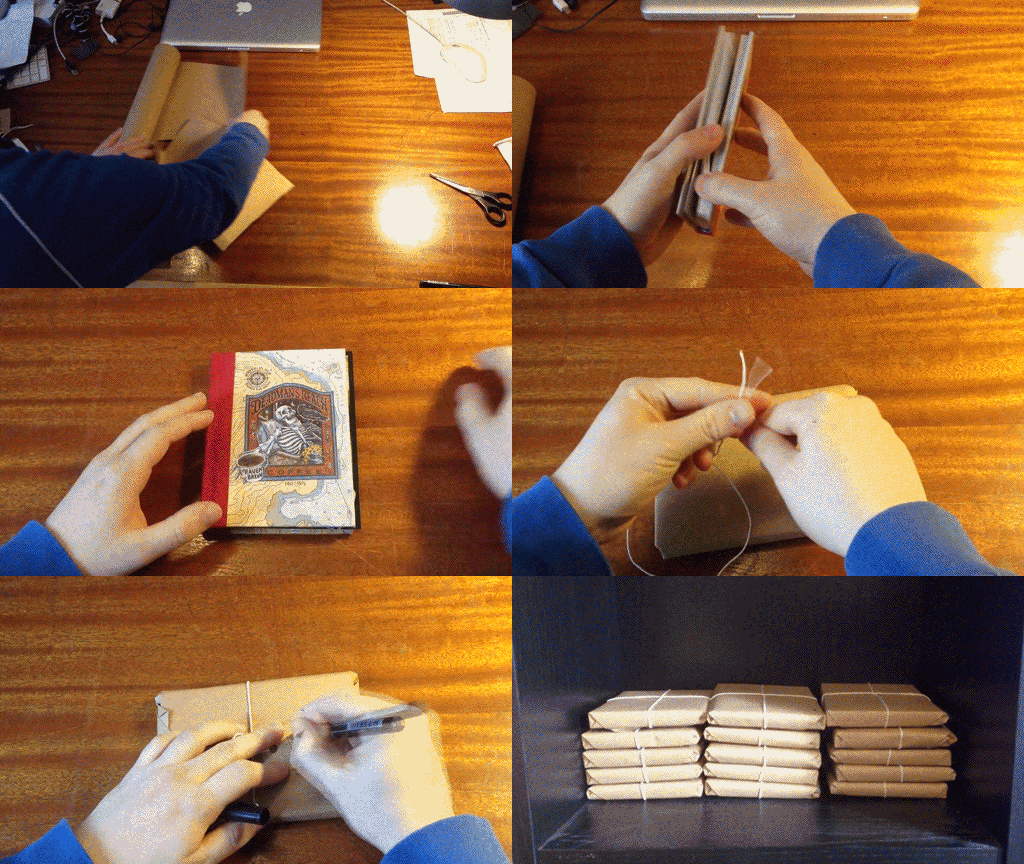
39. Rewarding

I've got around 150 packets to prepare for the Kistarter, so I'm starting early. (And this as nothing to do with the fact that I don't feel like shooting more live action today, NOTHING) The lucky 15  first fellas that pledged for the book and that sent me their address will receive their book very soon.

I'm sure the post man is gonna LOOOVE me.

And to celebrate this I made a GIF, obviously. (Might take a while to load)

Book-GIF


22. Back to Black

I finished the pencil animation for the Bedroom sequence, Those of you who bought the book had a preview of what the film animation will look like, thanks for your feedbacks!

I switched  back to shading for a few days before starting a new sequence witch involves a different drawing technique...

Here is what 3 hours of shading looks like:

[vimeo 51915738 w=500 h=281]

20. LineTest

Last week I started animation, I did 200 drawings in two days, tough. I'm probably going to finish the sequence I'm working on and then change a little bit the technique I'm using.

I will try to find a way to make animation a bite more... expressive, by animating straight with a pen.

It's going to be harder, but will save tones of paper and hopefully will make the drawings look much more  "alive".

In the mean time let me introduce you to my LineTest, it's a setup that allows you to take pictures of drawings with a consistent lighting and framing.

You can check your animation much more quickly then when scanning drawing. When I say my line test I mean the one my friend Lucas lent me, thanks mate.

I'm using a D80 to take the pictures and icarus camera control to control the camera from the computer (Tethered)

Here it is in action: [vimeo 50990280 w=500 h=281]

14. Making a Shot

I finally got around editing that "making of video" I was supposed to last week. It shows the different steps I go through to make an animation.

1) Shoot live action.

2) Choose only the frames I need for the animation.

3) Time them and place them correctly.

4) Rotoscop them.

5) Clean the drawings and shade them

6) Place the animation on the Background.

Since a picture is worth a thousand words, especial one of me moving in slow motion in my living room, there you go:

[vimeo 46986044 w=500 h=281]

music is "RoadTrim Part 2" by the dead pirates

post a comment

7. Time-lapse and Animation test.

Exciting post today as I finally have a drawing that will appear in the final film! I finished a first background and did a little animation test last week.

Here is me drawing the BG:

[vimeo 44107554 w=500 h=375]

I have to animate up to 6 minutes of animation in a very short time,

this is equivalent of 4320 drawings in pencils and 4320 in pen...

Lets say A LOT. To be on schedule I had to find a quick method to animate.

Since I'm not a proper animator it needed to be easy enough and reliable.

The obvious choise was rotoscoping, i.e. Drawing on top of video.

The problem with this technic, is that it doesn't feel right, you're missing the artist interpretation.

I decided to tweak this technic. I needed the Rotoscop to be able to draw easily, not to guide the movement,  i needed only the poses and not the timings.

So this is what I do:

I film the subject in slow motion (this is usually me moving slowly), with very specific poses.

Then I re-time the animation by keeping only the frames that are relevent to the animation I want.

Giving you a video close to Pixilation. But with the ability to film it on your own (quite important in my case)

Finally I trace the drawing on top of the video.

Here is the result, obviously a drunk skeleton:

[vimeo 44118553 w=500 h=281]

This week plan is to start the bigest BGs, and maybe animate a background animation to a final state.